Site Analysis for Architects: A First-Week Workflow That Tests the Brief
A practical first-week site-analysis workflow for architects: establish the decision, collect the evidence, test constraints together, and turn findings into a brief the team can use.
Quick answer
A useful first-week site analysis does four things: defines the decision the project needs to make, assembles the evidence that can change that decision, tests constraints together rather than in isolation, and records whether the brief should proceed, change, or pause. The output should be a short decision record with mapped evidence and named next checks, not a folder of screenshots.
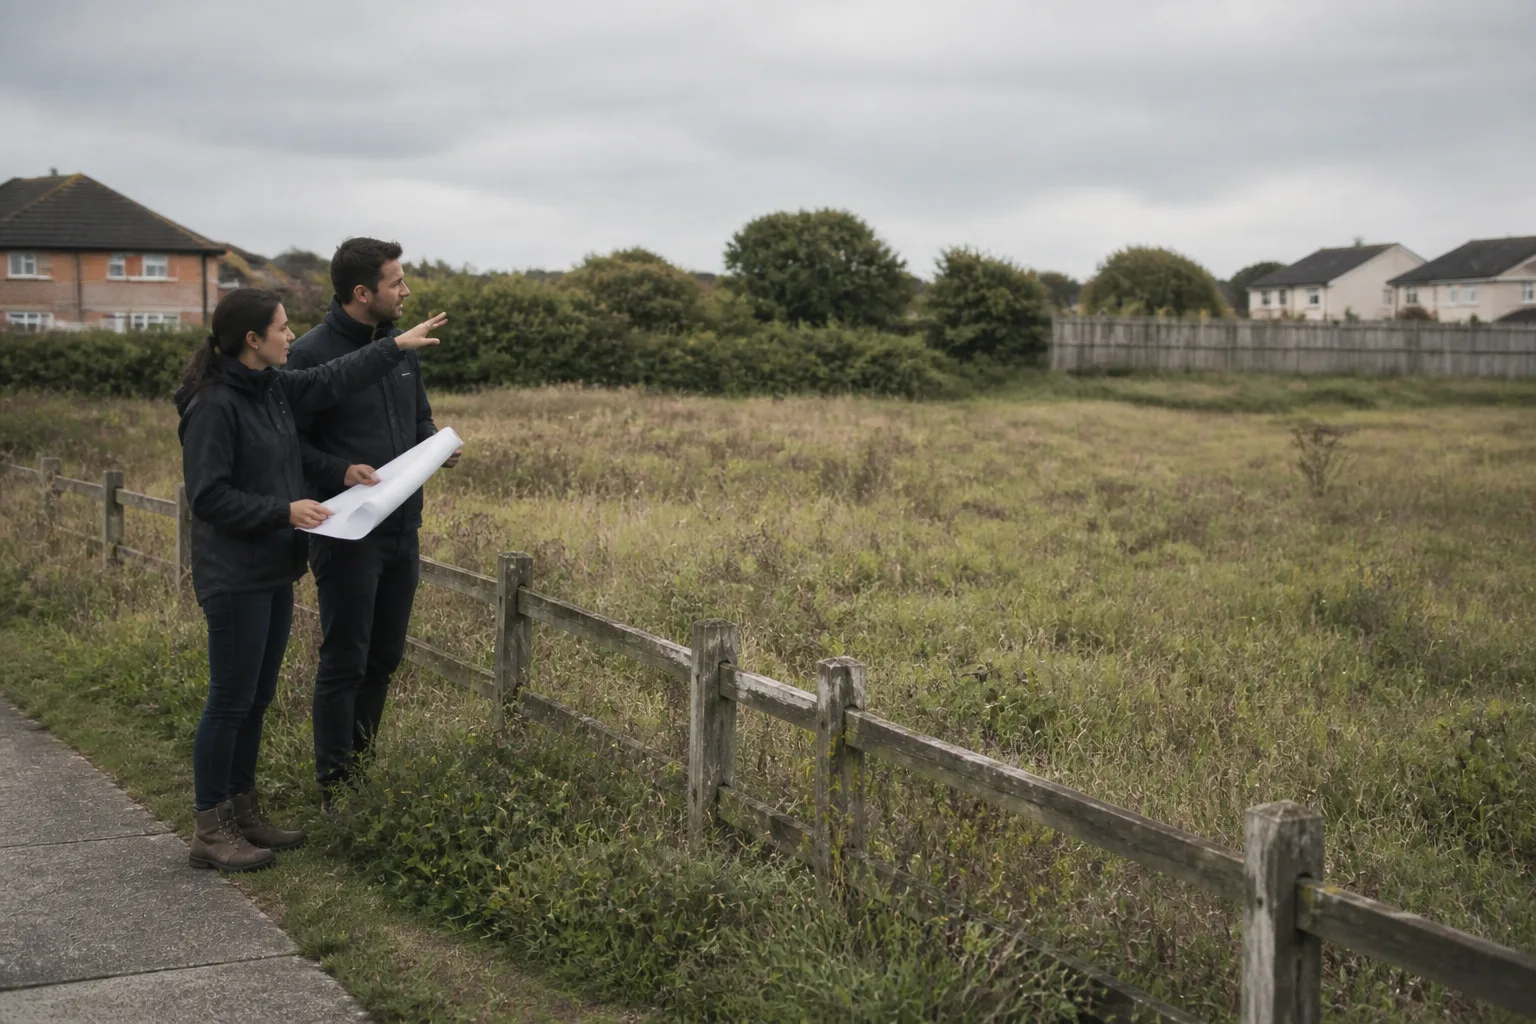
The first week of a project decides more than most teams admit. A client may arrive with a unit count, a preferred entrance, or a confident view of what can be built. The architect's job is not to make that brief look plausible. It is to find the conditions that make it stronger, weaker, or impossible before design time gathers around it.
That does not require a finished survey package or a polished report. It requires a disciplined first pass: ask the right questions, put the evidence in one place, and make a provisional judgement that the whole team can see.
Start with the decision, not the map
Before opening a planning portal or drawing a boundary, write down the decision the project needs to make in the next two weeks. It is usually one of these:
- should we pursue this site?
- can the current brief survive the site conditions?
- which part of the site should carry the building, access, landscape, or servicing?
- what must the client commission next?
This sounds obvious, but it stops the research stage becoming a collection exercise. A flood layer matters because it changes access, ground-floor use, levels, cost, or all four. A listed building matters because it can change height, setting, and the planning route. The evidence should always be tied to a decision the team can act on.
Build one evidence board for the brief
For an early architectural review, organise the evidence into five groups:
- Planning and policy context: allocation, designations, nearby decisions, and policy triggers.
- Physical conditions: boundary, levels, existing buildings, access, utilities assumptions, and ground conditions that are already known.
- Environmental and statutory constraints: flood, heritage, ecology, trees, contamination, and any other issue that needs specialist confirmation.
- Movement and context: public transport, walking routes, servicing, neighbouring uses, street character, and arrival sequence.
- Commercial reality: likely buildable area, abnormal cost risks, comparable evidence, and the assumptions that need testing before a land decision.
Keep the board readable. A client should be able to understand the important evidence in one conversation, while the design team should be able to trace every conclusion back to the map, source, or assumption behind it.
Test the constraints together
The useful findings appear where layers meet. A site can be policy-supportive but still weak because the accessible edge is flood-constrained. It can have a generous apparent footprint but lose usable area to levels, trees, or servicing geometry. It can be close to a station but unpleasant or indirect to reach on foot.
Use four labels for each finding:
- supportive. The condition helps the current brief;
- manageable with change. The condition is real but can be addressed by a revised layout, programme, or consultant input;
- material risk. The condition can change whether the current proposal should continue;
- not assessed / insufficient evidence. The source is missing, unavailable or too uncertain to support a judgement.
Record the source date, location and scope beside the label. Missing evidence must not be counted as a supportive finding.
This gives the team a way to judge rather than simply describe. It also makes an early review more honest: a material risk is not a failed project, but it is a reason not to spend the next month designing around an untested assumption.
End the week with a brief test, not a report
The first output should be short enough to use in a live project meeting. It needs:
- the current brief and the question being tested;
- the three or four conditions most likely to change it;
- a mapped summary of the site opportunities and constraints;
- an explicit recommendation: proceed, proceed with changes, or pause pending a named check;
- the next specialist actions, with a clear distinction between early screening and formal sign-off.
That last distinction is essential. Early site analysis helps teams decide what to investigate and where to focus design effort. It does not replace a measured survey, planning advice, valuation, or any required specialist assessment.
Use the review to make the next design move
Once the evidence is assembled, the team can make a better first move: position an entrance at the strongest arrival point, keep landscape on the constrained edge, test a smaller footprint, or ask whether the intended programme still fits the site.
Atlasly can help bring the early evidence into a shareable site-analysis workflow. For a fuller checklist, see the site feasibility study checklist. If the review is strong enough to continue, the next question is usually how to test the brief spatially; turn a site brief into a masterplan test sets out that step.
From practice
A common early-stage failure is treating the client brief as a conclusion. Teams spend days gathering planning screenshots and context images, then discover at the first design review that access, levels, or a statutory constraint changes the scheme's basic logic. A short first-week decision record makes that discovery useful while it is still cheap to act on.
Shatakshi Patil, Architect
Frequently asked
What should architects check first in a site analysis?
Start with the decision the brief needs to make, then review planning context, physical conditions, statutory constraints, movement, and the assumptions that affect feasibility. The aim is to identify what can change the brief quickly.
How detailed should a first-week site analysis be?
Detailed enough to identify the main opportunities, risks, and next specialist checks. It should not pretend to replace formal survey, planning, environmental, or valuation work.
What is the difference between site analysis and a feasibility study?
Site analysis assembles and interprets the conditions of a place. A feasibility study uses those findings to judge whether a specific brief, layout, or commercial proposition can proceed.
What should a client receive after an early site review?
A concise decision record: the current brief, key mapped evidence, the main opportunities and risks, a recommendation, and the next checks needed before further commitment.
Conclusion
The first week should not produce a prettier assumption. It should produce a better brief. When teams define the decision, read the evidence together, and record what must change, early site analysis becomes a practical design tool rather than a research detour.

About the author
Shatakshi Patil
Architect writing about pre-construction due diligence, planning context, and site intelligence workflows for design teams using Atlasly.
Sources and references
Authoritative references for the planning policies, regulations, and standards referenced in this article. Always check the publisher for the latest version.
Related articles
Auto-suggested
pre-construction site analysis
Pre-Construction Site Analysis: The Complete Guide for Architects and Engineers
A comprehensive guide to zoning, flood risk, solar, topography, transport, demographics, reports, and CAD-ready outputs in pre-construction workflows.
Read
site feasibility study checklist
Site Feasibility Study Checklist: 12 Things to Assess Before Your Design Brief
A practical 12-point checklist covering planning, physical, environmental, access, and viability factors that should be tested before briefing design work.
Read
development feasibility analysis
Development Feasibility Analysis: FAR, Buildable Area, and Financial Viability for Architects
How architects can use FAR calculations, buildable area analysis, and early-stage financial viability screening to test development feasibility before committing design time.
Read
Masterplanning
How to Turn a Site Brief into a Masterplan Test
A practical way for architects to test a site brief before committing to a masterplan: set the non-negotiables, test spatial options, expose trade-offs, and record the preferred direction.
Read