How to Convert a Scanned Floor Plan to DXF, Free, in Your Browser
A practical walkthrough of converting a scanned floor plan into an editable DXF using Atlasly's free in-browser Image→CAD tool: scan quality, layers, scale calibration with a known dimension, and importing into AutoCAD, Revit, and QCAD.

Quick answer
Load a JPG, PNG or PDF into Atlasly Image to CAD, inspect the drawing preview, calibrate with a known dimension and download DXF using a free account. Drawing-mode tracing runs locally; photo-classified inputs use cloud drafting. Expect to review geometry, recognized text and layers in CAD. The result is an editable underlay, not a measured survey.
A scanned floor plan contains pixels rather than the original CAD objects. Converting it means reconstructing useful linework and checking what was inferred. This walkthrough uses the current Image to CAD tool, with its account, processing and scale limits made explicit.
Keep the original scan beside the result. Missing wall lines, merged hatching and misread dimensions can affect a design even when the preview looks convincing.
Prepare the scan
Use a flat, evenly lit scan with readable dimensions. Around 300 DPI is a practical starting point for paper scanning, not a universal accuracy threshold; inspect whether the smallest relevant line and text survives. Higher resolution cannot restore detail absent from the original.
For a photographed plan, reduce skew and shadows before conversion. For PDFs, the current Atlasly import processes the first page into an image; split or select the intended page beforehand. Browser processing also limits decoded image size, so do not assume every source pixel is preserved.
Check which processing path applies
The drawing-mode path processes linework in the browser. Photo-classified inputs automatically receive a cloud drafting pass after the local preview. Classification is automatic, so a photograph of a paper plan must not be assumed to stay local. Check the current tool disclosure and input classification before supplying confidential material.
For a facade photograph rather than a plan, use the separate Vector and Elevation guide. A drawing-mode result and a photo drafting result have different assumptions.
Review geometry and recognized text
Inspect long walls, corners, door swings, stairs and tightly spaced hatching against the scan. Tracing can fragment a line, bridge a gap or convert a annotation into unwanted geometry. Review uncertain fragments rather than accepting every stroke.
The current drawing path can recognize text and add CAD TEXT entities. Recognition does not prove that a dimension is correct. Check characters, decimal points, units and placement. Some confirmed repeated-opening groups can export as blocks; the converter does not recreate the original author’s complete block structure or BIM objects.
Calibrate with evidence
Calibrate against a measured dimension or a reliable dimension on the original drawing. Never treat a typical door width or guessed storey height as a known measurement. Check a second, independent dimension after import. One calibration cannot correct perspective, paper stretch or unequal distortion in two directions.
Illustrative check: a dimensioned line is 5,000 mm. Calibrate across its actual endpoints, then measure a separate 3,000 mm dimension in the receiving CAD application. If the second check is wrong, investigate distortion or endpoint selection rather than stretching the drawing to make one value look right. These numbers illustrate a check, not a conversion accuracy result.
Download and check the handover
CAD downloads require a free account. The current download path supports DXF, SVG and vector PDF. Confirm the selected output in the receiving application; a successful download is not a compatibility or measurement certificate.
Open the DXF in your chosen CAD application. Confirm units, overall extents, a second dimension, layer visibility and representative text. Remove duplicate or stray lines, close boundaries deliberately where needed, and redraw critical details from reliable evidence. Import into a BIM application as an underlay where supported; it does not arrive as native walls, doors or rooms.
When the scan is not enough
An unclear scan, an assumed scale or a changed building can make the reconstructed drawing unsuitable for measurement. Use it to scope the next survey and early options, and retain a visible note of its source and limitations. If the original CAD file is available, inspect that before reconstructing its plotted image.
For why ordinary PDF extraction can fail, see scanned PDF conversion limits.
Illustrative example
Illustrative handover: retain the scan, calibrated DXF, two independent dimension checks and a short list of uncertain areas. Ask the receiving designer to review that evidence before using the underlay. This is a suggested workflow, not a measured project saving.
Frequently asked
Is CAD download free and account-free?
CAD download uses a free account. The share-card flow is separate. Check current tool allowances for photo drafting.
Does every uploaded file stay on my device?
The drawing-mode path processes linework in the browser. Photo-classified inputs automatically receive a cloud drafting pass after the local preview. Classification is automatic, so a photograph of a paper plan must not be assumed to stay local. Check the current tool disclosure and input classification before supplying confidential material.
Does it produce editable text?
The drawing path can recognize text as CAD TEXT entities. Review every important dimension and label; recognition can fail.
Can I set scale from a standard door width?
Only if that is the actual verified dimension of this door. Typical widths and guessed sizes are assumptions, not measured calibration.
Will the DXF replace a survey?
No. It is reconstructed linework whose scale, distortion, completeness and relationship to the existing building require checking.
Conclusion
A useful conversion keeps the original visible and makes scale, processing and uncertainty explicit. Review the result in the receiving CAD application before it informs a design decision.
About the author
Shatakshi Patil
Architect writing about pre-construction due diligence, planning context, and site intelligence workflows for design teams using Atlasly.
Sources and references
Authoritative references for the planning policies, regulations, and standards referenced in this article. Always check the publisher for the latest version.
Related articles
Auto-suggested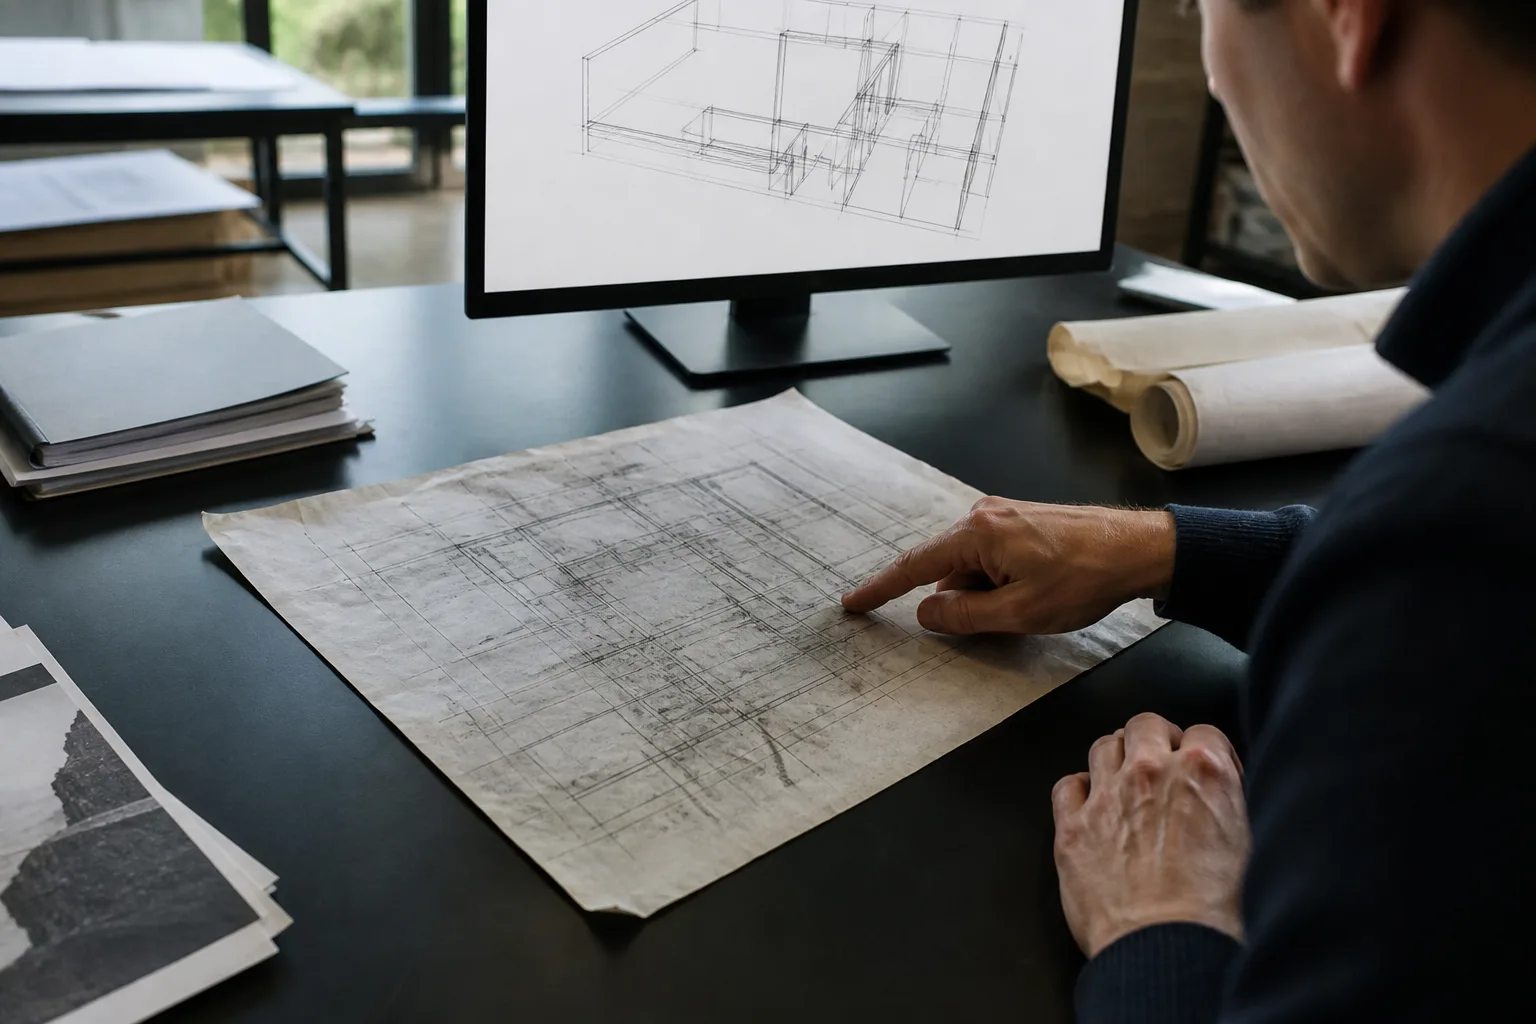
CAD Conversion
Why PDF-to-DWG Conversion Fails on Scanned Drawings
Diagnose raster, vector and hybrid PDFs, choose the right conversion route, and check the resulting CAD geometry and scale.
Read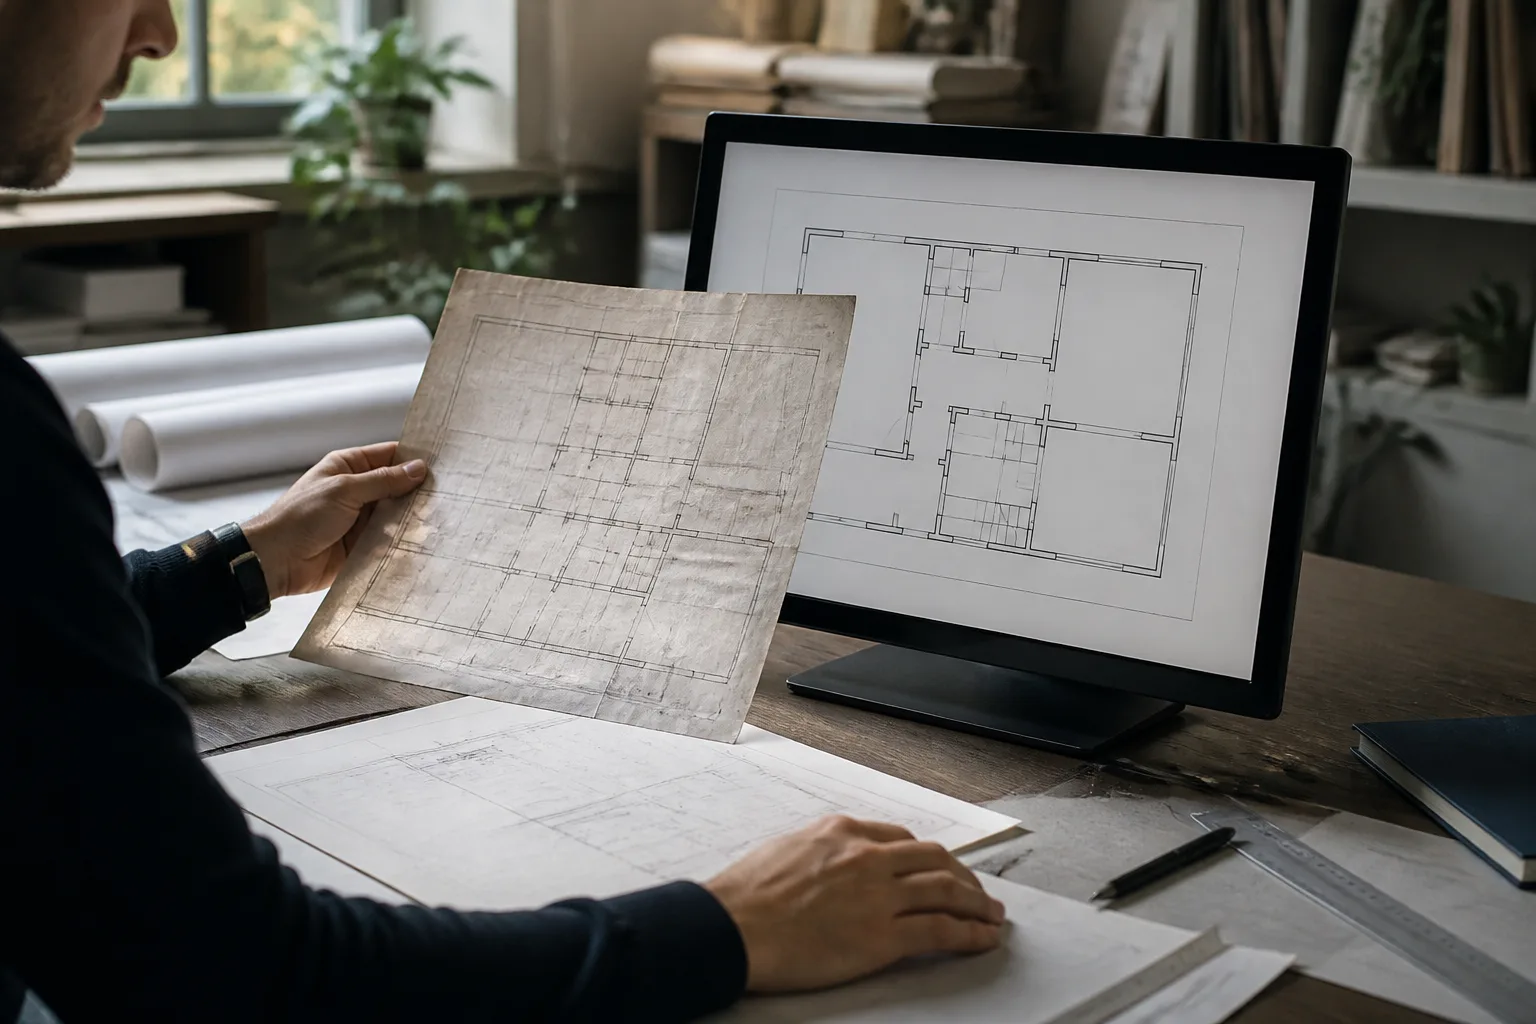
CAD Conversion
Raster to Vector CAD: Geometry, Text, Scale and Quality Checks
Understand what raster-to-vector CAD reconstructs, what OCR can recover, and how to check scale, geometry and exports before using a converted drawing.
Read
export site analysis data to AutoCAD and Revit
How to Export Site Analysis Data to AutoCAD and Revit
A guide to choosing and verifying site-analysis exchange files, including units, coordinate references, geometry, source coverage and receiving-application checks.
Read
Workflow
How to Export Site Context to DXF for AutoCAD Using Atlasly
Export available Atlasly site context to DXF and check layers, units, coordinates and geometry before using it in AutoCAD or another supported CAD workflow.
Read