How to Use Image to CAD: Vector vs Elevation from a Facade Photo
How UK architects turn a facade photograph into CAD linework with Atlasly Image to CAD: Vector vs Elevation, photo upload, auto-scale as an estimate, and DXF underlay use.
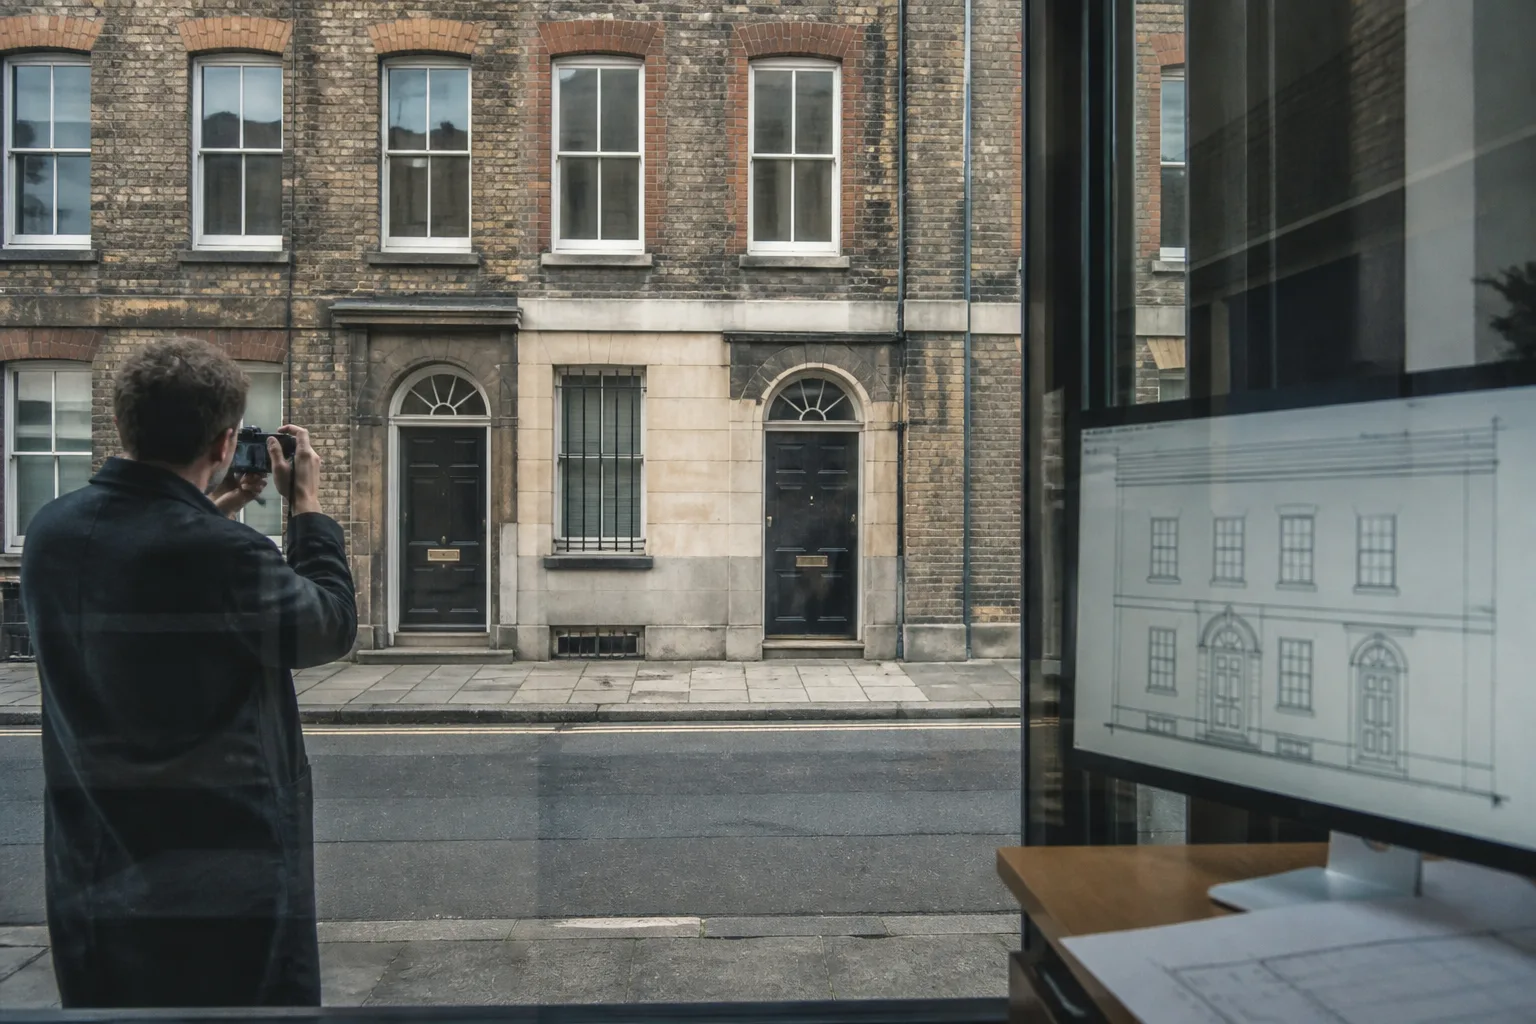
Quick answer
Open atlasly.app/tools/image-to-cad and drop a facade photo. Vector is the default and keeps the photograph's perspective. Elevation is a second, explicit pass that squares the facade. Auto-scale is an estimate from doors or coursing, not a survey. Download DXF, SVG, or PDF with a free account. This is a first-pass drawing underlay, not a measured elevation.
You have a street photo of the facade, an early brief, and no survey yet. A reconstructed drawing can help explore the visible building, provided its perspective, scale and missing detail remain explicit. This guide describes Atlasly’s current workflow; it is not an accuracy comparison with other converters.
This how-to is for UK architects at Stage 0-2 / as-found documentation: how to use Image to CAD, when to keep Vector versus opt into Elevation, and how photo upload and auto-scale actually work. For scanned floor plans, use convert a scanned floor plan to DXF instead of repeating that workflow here.
Why a facade photo is not a CAD elevation yet
A photograph is pixels with perspective, lens distortion, and whatever sat in front of the building that day. IMAGEATTACH plus manual tracing still works, but it is slow.
Atlasly produces first-pass vector linework you can open in CAD as an underlay before you buy survey data. Trees, vans, and street furniture can obscure information that the photograph cannot establish. Heavy occlusion means gaps and dashed inferred lines, not a clean elevation. For raster versus vector theory, see the raster-to-vector CAD guide. For scanned PDFs that fail ordinary converters, see why PDF-to-DWG converters fail on scanned drawings.
Photograph the facade so the conversion has a chance
Shoot roughly square-on with openings, string courses, and a door leaf visible so scale has something real to estimate from. Clear the elevation plane when you can: vans, scaffolding, and deep tree cover break the drawing where they hide the wall.
Google Earth, drone nadir, and other aerial views are unsupported for this elevation path. A phone photo of one facade, taken like a measured-building reference shot, is the intended input.
Vector vs Elevation: the product split
Vector is the default for every scene. It keeps the photograph's perspective. The linework is an inferred drawing that needs comparison with the upload. Atlasly does not silently square the photo.
Elevation is an opt-in second pass. You choose it explicitly. Atlasly runs another drafting pass over the original photograph and squares the facade. The result is squared by drafting, not surveyed. Use it for an orthographic-style first pass. Do not run Elevation on a sketch or photo you wanted to keep in perspective.
Scans and sketches belong on the scanned floor plan walkthrough, not on the Elevation path.
The real upload flow
The drawing-mode path processes linework in the browser. Input classification is automatic: a photograph of a paper drawing must not be assumed to follow that local path. Check the current disclosure and classification before supplying confidential material.
Photographs take a different path. A local result shows first. Atlasly then runs a cloud drafting pass on the photo. If that pass is unavailable, the local result still stands. The cloud drafting pass is automatic for photo-classified inputs; it is not an upload opt-in after the local preview.
CAD downloads (DXF, SVG, vector PDF) need a free account. The share card stays ungated. Methodology notes: /tools/image-to-cad/methodology.
Scale: estimate, then two-point refine
On photo results, auto-scale estimates from on-building elements such as a door leaf, brick coursing, or storey height. Treat every auto-scale figure as an estimate. Never claim survey accuracy.
Refine with two-point calibration against a known dimension. After import, check a second known dimension before you draw. OCR or dimension-string scale suggestions belong to the scan path (you must confirm them); see the scanned floor plan guide.
What to do with the DXF
Open the file in AutoCAD, Rhino, or QCAD as an underlay. Lock the imported layers and draw over them. Eligible repeated-opening groups with at least two confirmed members can export as DXF BLOCKs on A-OPENING. Shared strokes (string courses) are not collapsed.
The photo pass does not produce native Revit walls or the scan path’s recognized text. It supplies an underlay to review. The separate drawing path can produce OCR text, which also needs checking. Site-context DXF from Atlasly's site tools: how to export site context DXF.
What Atlasly Image to CAD is not
Not a measured survey. Not an FRA. Not planning advice. Not a substitute for a laser or total-station elevation survey. Use it as a Stage 0-2 underlay to brief concept and compare options early, then commission measured work when the project needs survey-grade elevations or when a planning submission requires them.
From practice
Silently squaring a street photo throws away the composition the architect shot. That is why Vector is the default: keep the perspective you framed, and only opt into Elevation when you explicitly want a squared facade pass.
Shatakshi Patil, Architect
Frequently asked
What is the difference between Vector and Elevation?
Vector is the default and keeps the photograph's perspective. Elevation is an explicit second pass that squares the facade by drafting, not by survey.
Is Atlasly Image to CAD a measured survey?
No. It is a Stage 0-2 / as-found underlay, not a measured survey, FRA, planning advice, or laser/total-station substitute.
Are scans uploaded to a server?
Drawing-mode linework is processed locally. Photo-classified inputs automatically receive cloud drafting after the local preview. Classification is automatic, so a photograph of a paper plan is not guaranteed to stay local.
Is auto-scale accurate?
No. Photo auto-scale is an estimate from on-building elements. Refine with two-point calibration and check a second known dimension after import.
Do I need an account to download?
Yes for CAD downloads (DXF, SVG, vector PDF): free-account gated. The share card stays ungated.
Conclusion
Drop a facade photo into Image to CAD. Keep Vector when perspective matters. Opt into Elevation only for a squared facade pass. Treat auto-scale as an estimate, refine with two points, and use the DXF as an underlay. When you need survey accuracy, commission a measured elevation.
About the author
Shatakshi Patil
Architect writing about pre-construction due diligence, planning context, and site intelligence workflows for design teams using Atlasly.
Sources and references
Authoritative references for the planning policies, regulations, and standards referenced in this article. Always check the publisher for the latest version.
Related articles
Auto-suggested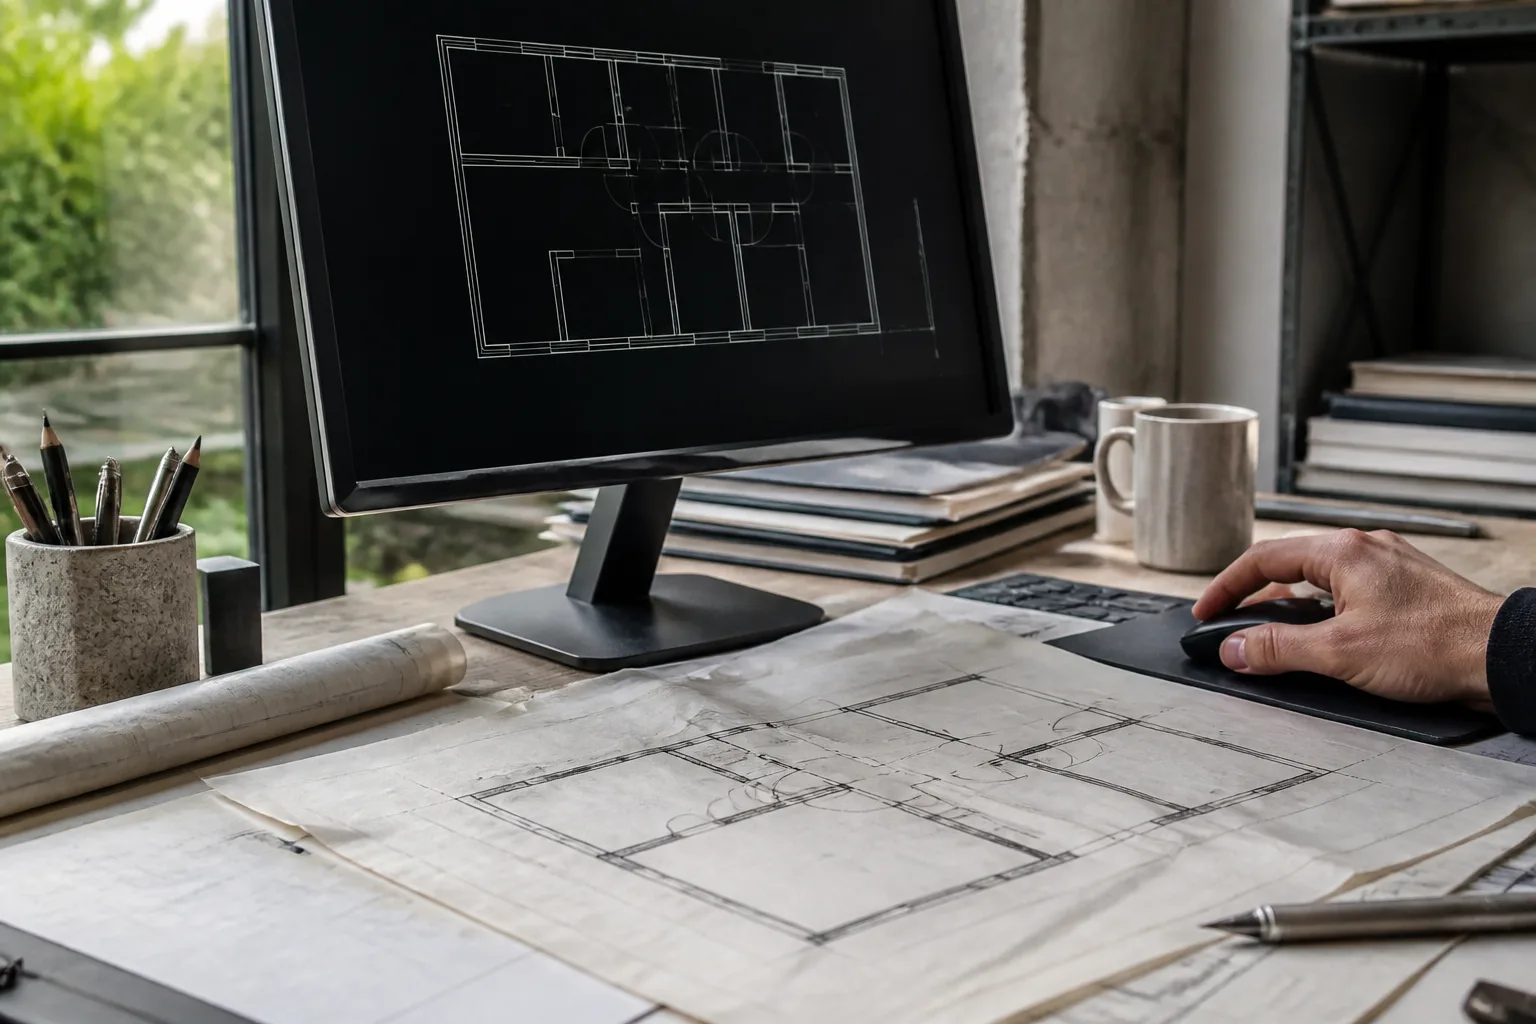
CAD Conversion
How to Convert a Scanned Floor Plan to DXF, Free, in Your Browser
A practical walkthrough of converting a scanned floor plan into an editable DXF using Atlasly's free in-browser Image→CAD tool: scan quality, layers, scale calibration with a known dimension, and importing into AutoCAD, Revit, and QCAD.
Read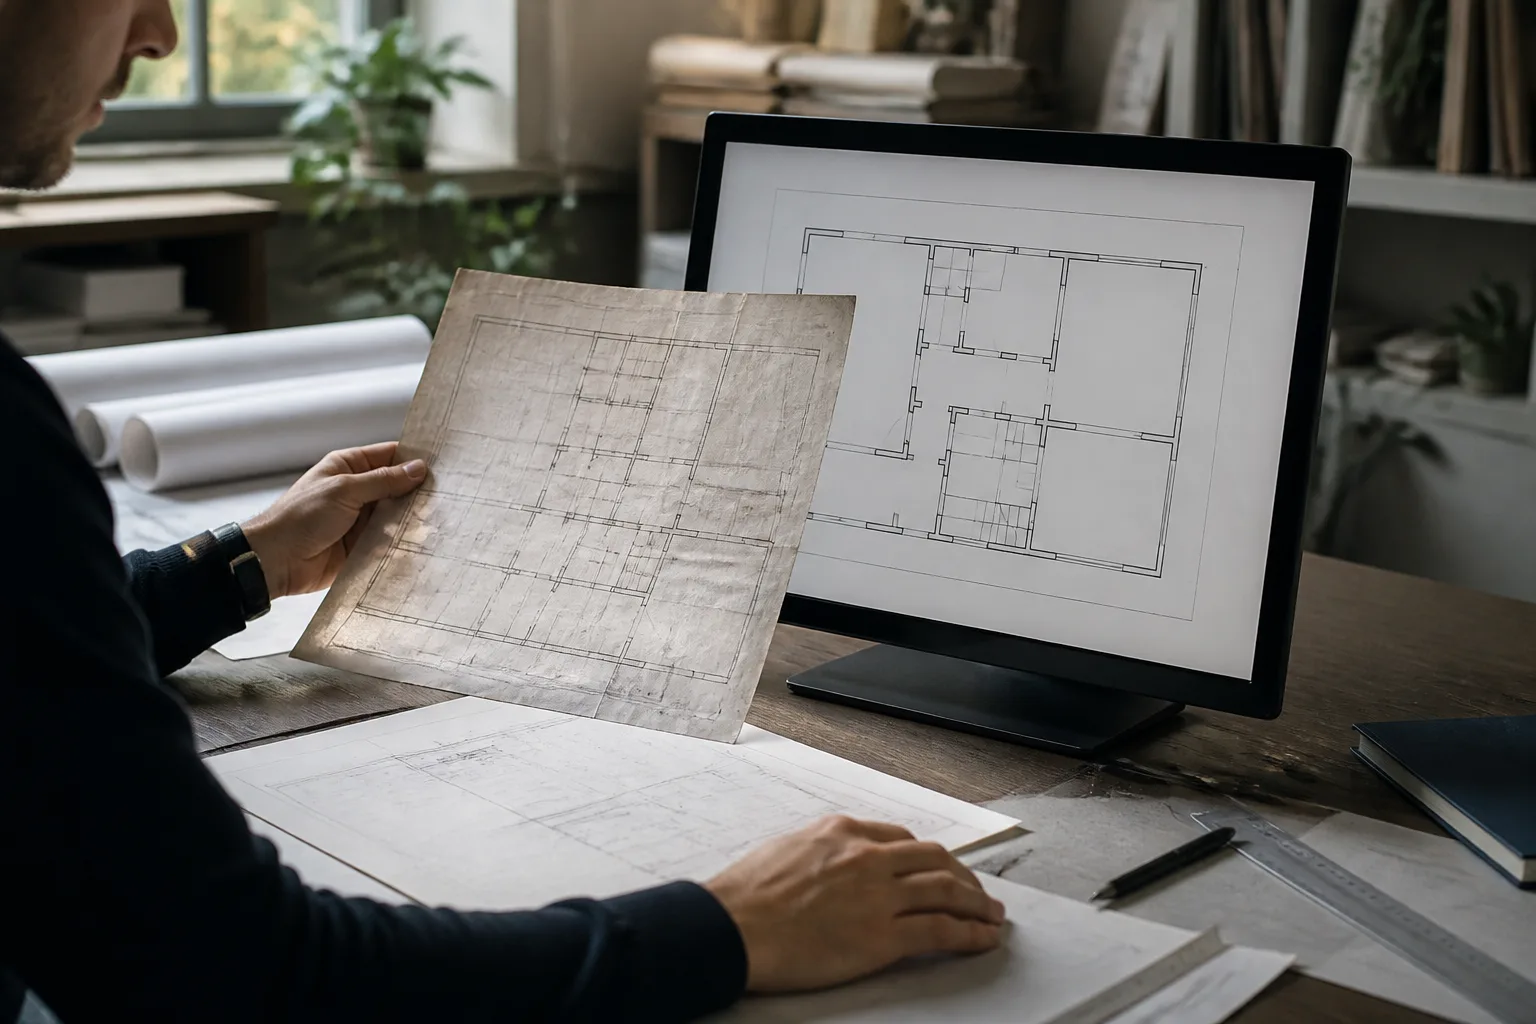
CAD Conversion
Raster to Vector CAD: Geometry, Text, Scale and Quality Checks
Understand what raster-to-vector CAD reconstructs, what OCR can recover, and how to check scale, geometry and exports before using a converted drawing.
Read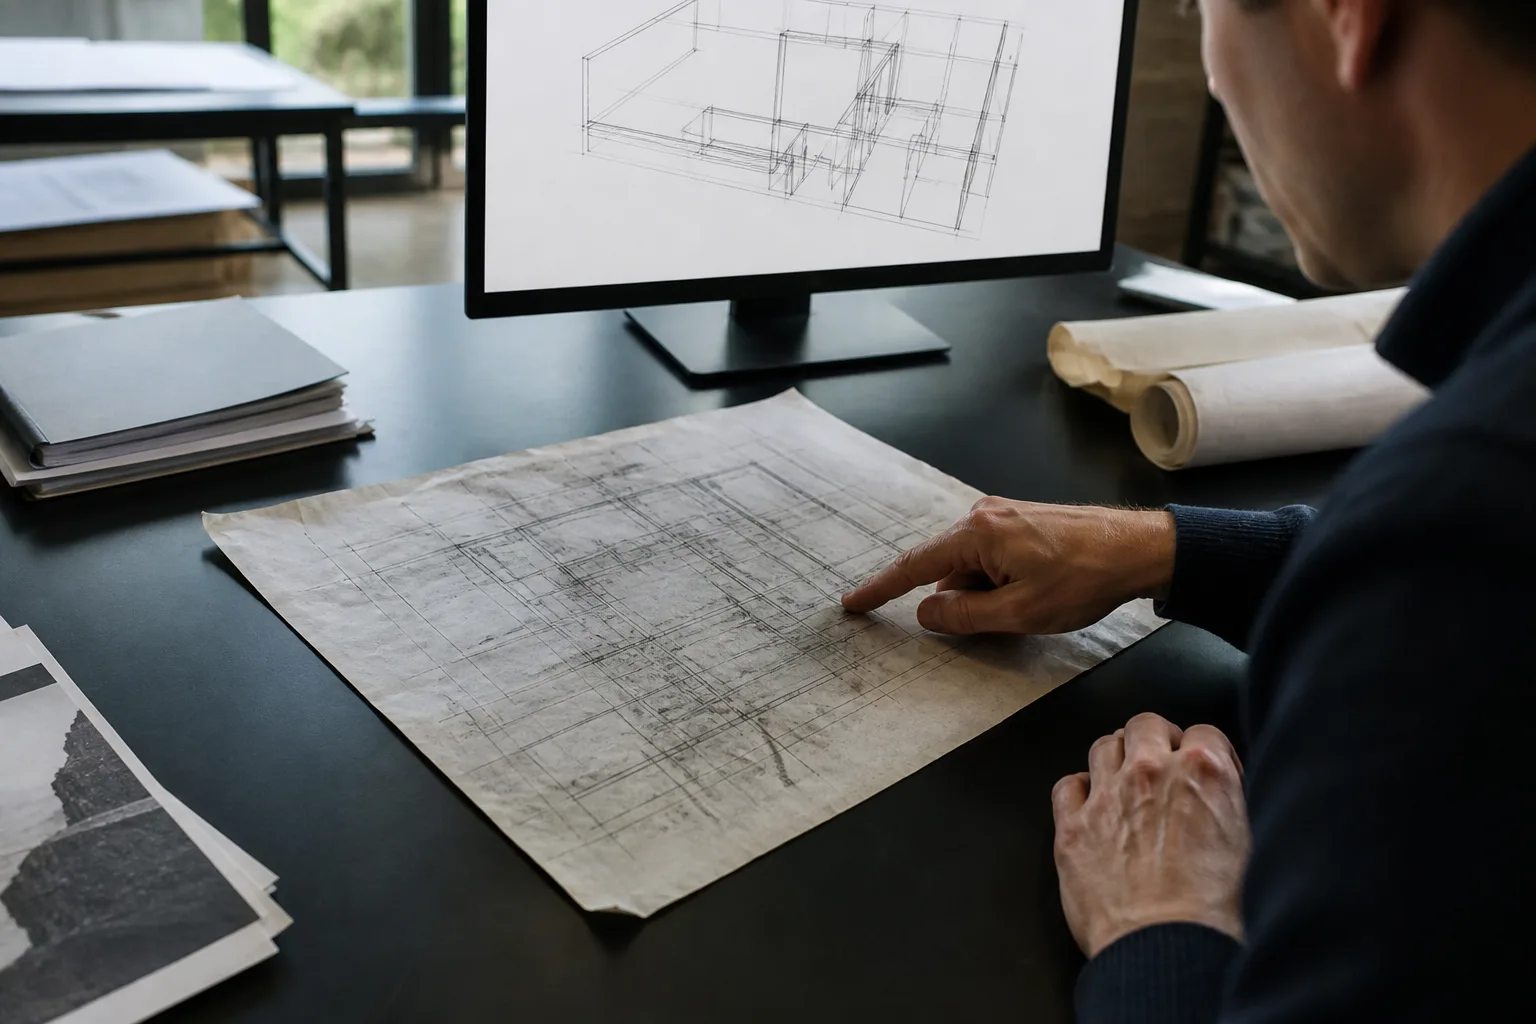
CAD Conversion
Why PDF-to-DWG Conversion Fails on Scanned Drawings
Diagnose raster, vector and hybrid PDFs, choose the right conversion route, and check the resulting CAD geometry and scale.
Read
Workflow
How to Export Site Context to DXF for AutoCAD Using Atlasly
Export available Atlasly site context to DXF and check layers, units, coordinates and geometry before using it in AutoCAD or another supported CAD workflow.
Read